
Mounting, cleaning and care
Four products, four methods. Choose your product and the page jumps straight to the right section.
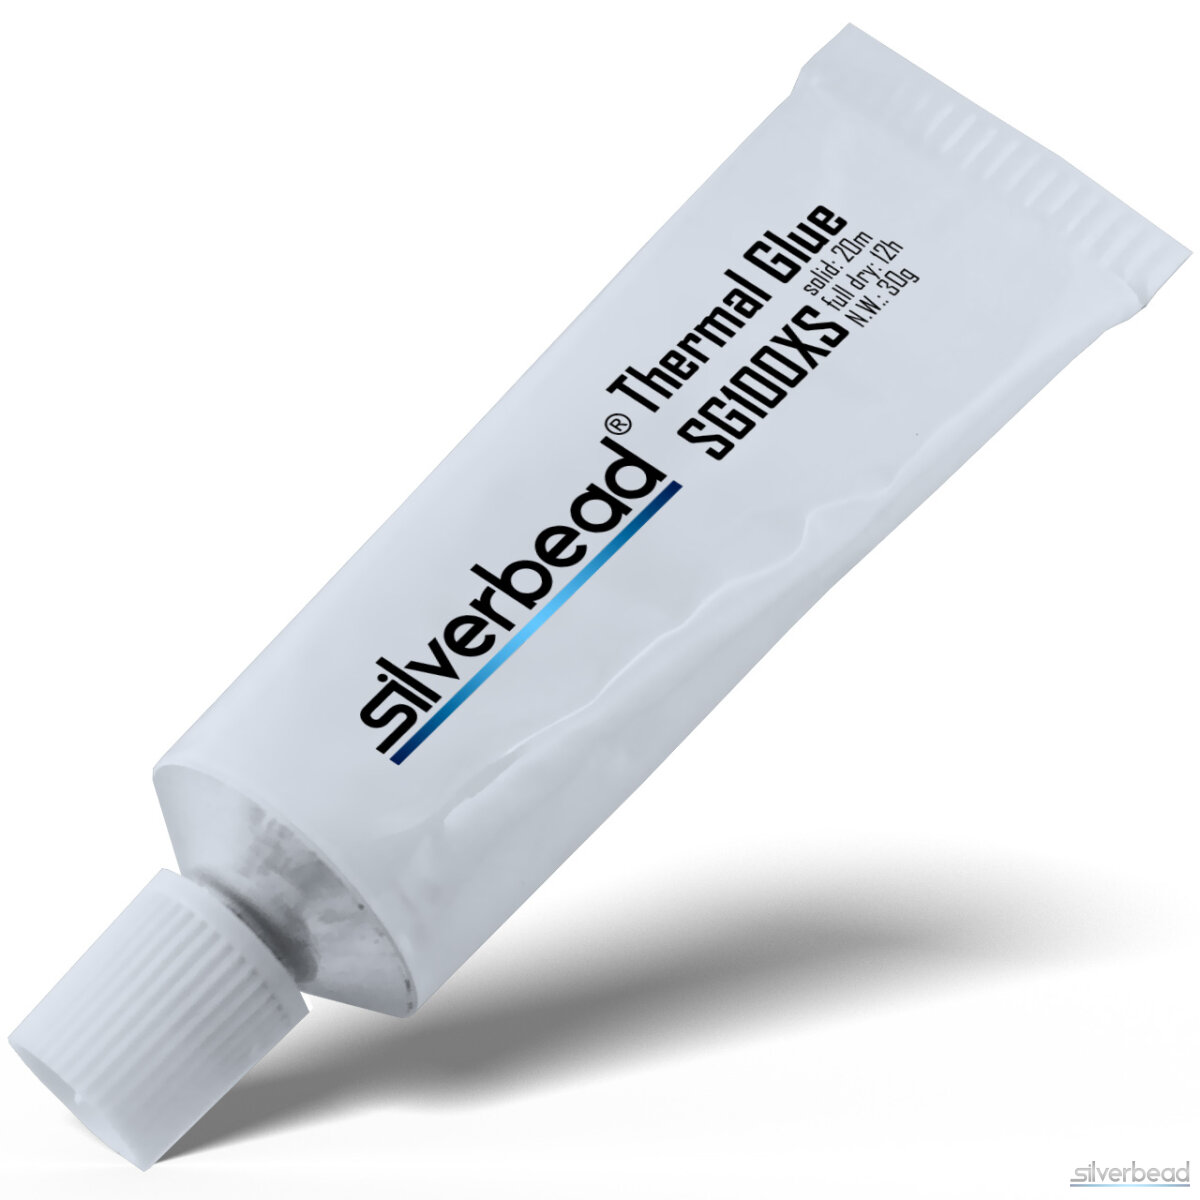
Thermal adhesive
For heatsinks that cannot be screwed on. The adhesive holds permanently, so be sure of this before applying it.
- Clean: Degrease the component and heatsink with isopropanol and let them dry.
- Apply: Thinly, about 0.1–0.5 mm, as a dot or line. Do not spread across the whole surface.
- Place: Position the heatsink and press lightly so the adhesive spreads. Hold it in place until it sets if needed.
- Cure: The adhesive reaches handling strength after about 20 minutes and is fully cured after about 12 hours.
Removing a heatsink
With small heatsinks (about 40 × 40 to 50 × 50 mm), the bond can usually be released without damaging the component:
- Grip the heatsink with pliers, either between the fins or from outside on the side faces. Hold it firmly, do not crush it.
- Carefully make a circular motion until the bond releases. Do not lever or pull with force.
- Then carefully scrape adhesive residue off the heatsink and component, using plastic or wood, not metal on the chip.
- Wipe up residue with isopropanol and clean the surfaces.
Thermal paste
For direct contact between CPU/GPU and cooler. Paste only fills the micro gaps; it is not a filler for large gaps.
- Clean: Wipe off old paste with 99% isopropanol and a lint-free cloth. Do not let it drip onto the board. Let the surface dry completely.
- Apply: Either place a pea-sized dot in the centre or spread the paste thinly over the whole surface with a spatula, plastic card or similar tool. Both work.
- Place: Place the cooler straight and tighten evenly in a crosswise pattern. The contact pressure spreads the paste.
Why a layer of paste is needed
Chip and cooler are never perfectly flat. Without paste, air stays between them, and air insulates. The paste displaces it and fills the micro gaps.
Swipe sideways to read the labels →
Removing and cleaning
Remove the cooler and wipe off the paste with isopropanol and a cloth. If the paste has dried, moisten the cloth with isopropanol and let it act briefly. Do not scrape it off dry, especially not on the chip.
When to renew?
Rarely in normal operation. If temperatures rise noticeably or the cooler has been removed, remove the old paste and apply new paste.
What to clean with?
99% isopropanol and a lint-free cloth. No harsh cleaners, no metal tools on the chip.

Thermal pads
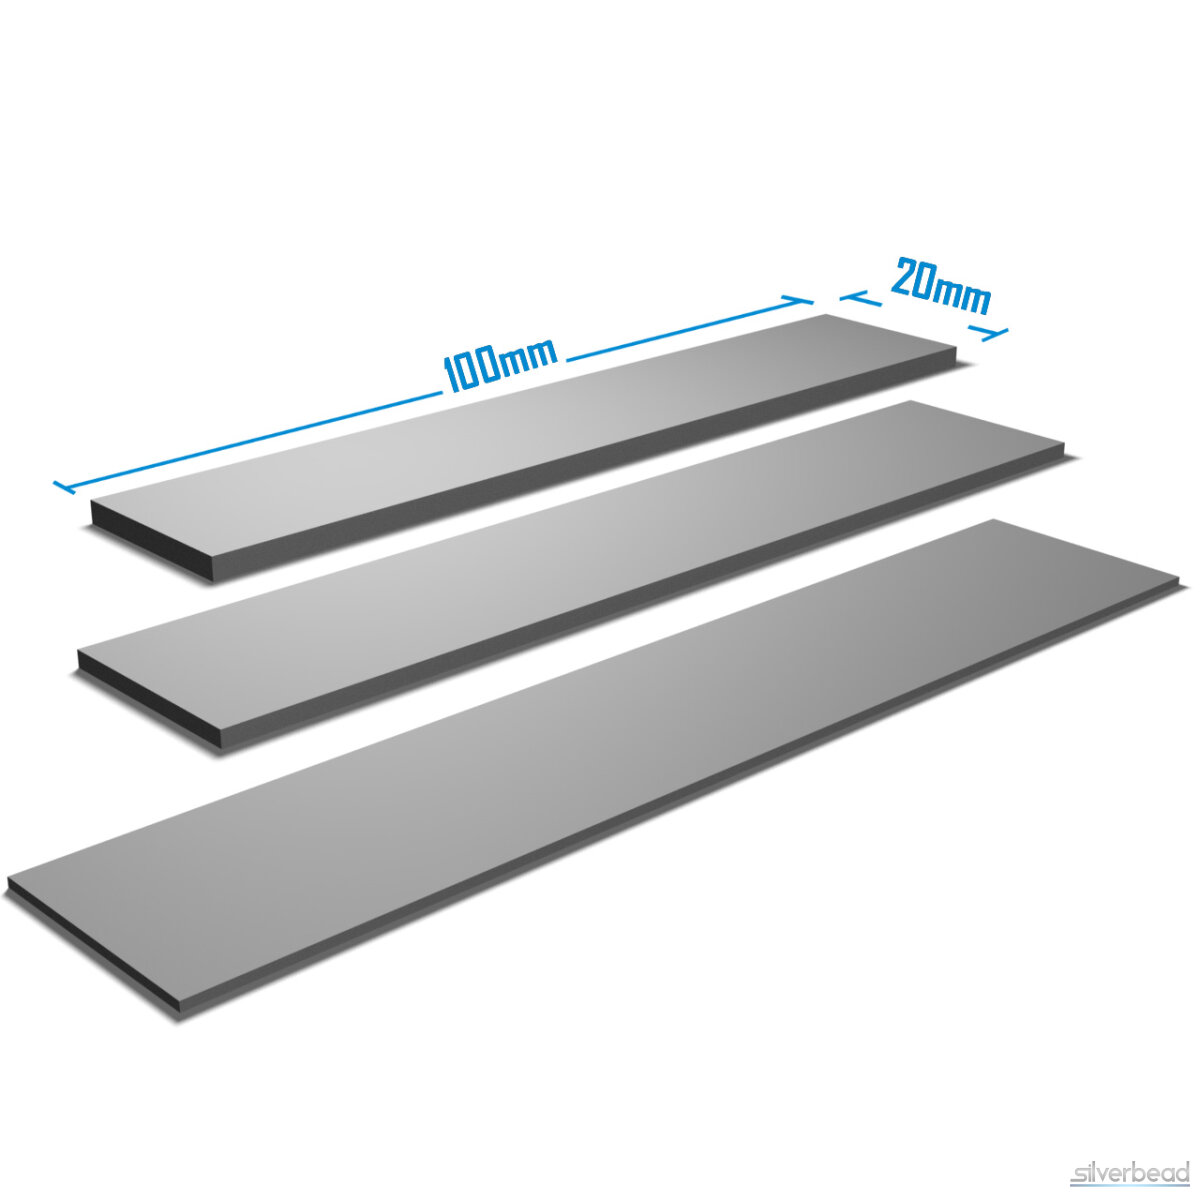
For gaps paste cannot bridge: VRAM, M.2 SSDs, chipsets.
- Measure the gap: Choose a matching thickness. The pad may be slightly compressed but should not sit too tight.
- Cut: Cut to the required size with ordinary scissors.
- Remove the film: Remove both protective films, top and bottom. The film is transparent and easily overlooked.
- Position: Place the pad and mount the cooler. Do not stretch it or reposition it repeatedly.
Removing
Pads can usually be lifted off easily and leave no residue. Then clean the surfaces with isopropanol. A compressed pad should not be reused.
Thermal adhesive tape
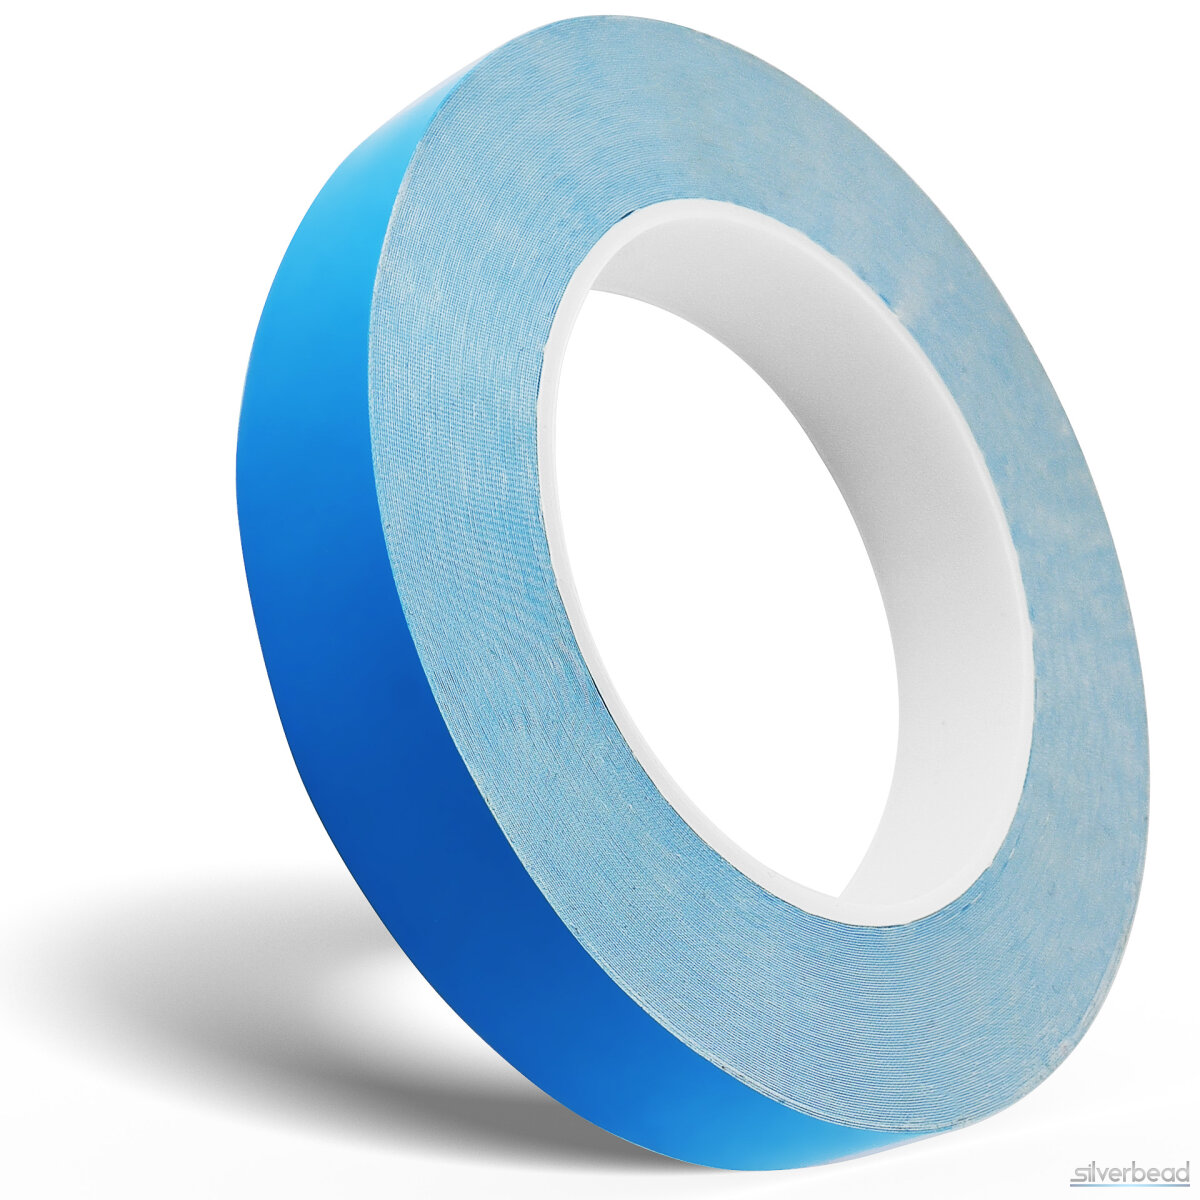
For flat, smooth joints: LED modules on profiles, heatsinks on housings.
- Clean: Degrease both surfaces and let them dry completely.
- Cut: Cut the required length with scissors.
- Remove the film: Remove the blue protective film.
- Press on: Apply the tape, place the component and roll it on firmly so no air bubbles remain.
Removing
Do not pull it off with great force. Instead, carefully twist the heatsink alternately clockwise and anticlockwise, slowly increasing the force until the bond releases. Wipe up residue with isopropanol.
Safety data sheets
We provide safety data sheets (SDS) for thermal paste and thermal adhesive.
Available for
TC-009 thermal paste · SG100X/SG100XS thermal adhesive
Where can I get them?
We will email them to you on request. Request now →
Frequently asked questions
Where can I find the safety data sheet?
We will email it to you on request.
Do I need a data sheet for pads?
Not for most applications. If your purchasing or QA department requires one, get in touch and we will compile the available documents.
Can I mix materials from several products?
Paste, pad and adhesive are separate systems. Do not combine paste with a pad: use one or the other, depending on the gap and the fixing.